Happy Tuesday!!
Hi, it's me Angie for a T{ippity} Tuesday Tip.
Hope you are all enjoying this wonderful day.
I am sure most of you love techniques.. but most times I never remember how to do it the next time . Well let's say you are having a Ippity Party , Craft sale or even as a little added thank you in your mail out. I was thinking of these fun Technique Tags.
You have your decorated tag using your Ippity products, and on the back of the tag you have the technique, with all the ingredients and Instructions to make the fabulous tag you are featuring.
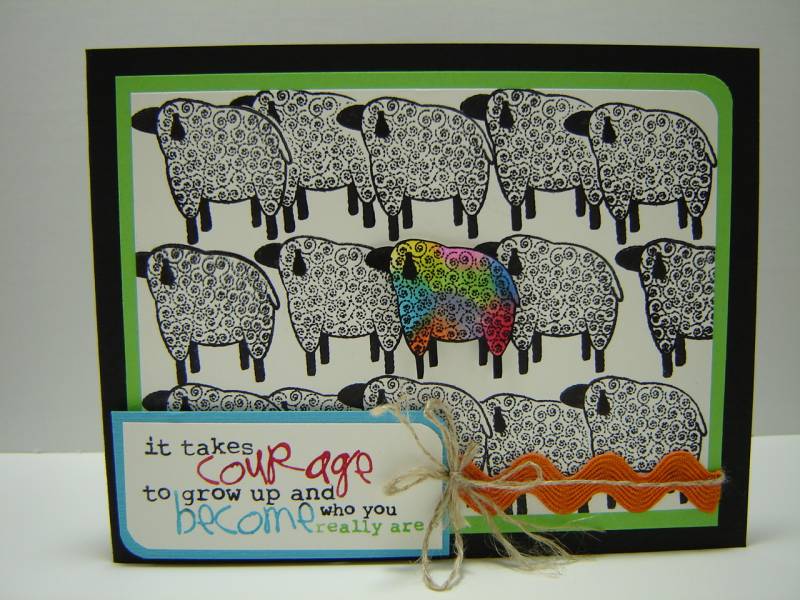
I made this one up, Using alot of those wonderful Ippity Inks and some of the stamps from
You Deserve and Bitty Pixie Paisley.
Many Thanks.


I was thinking this would be great as a giveaway for your clients. Cause we all love learning new things to do with the stamps and you can showcase these at your craft sale or if you are having home parties it might be a great way to have examples of what you will be doing that night and then they get to take these home to remember what they have learned.

Now on the back of the tag I have the technique with all the ingredients to make this tag.

I was thinking this would be great as a giveaway for your clients. Cause we all love learning new things to do with the stamps and you can showcase these at your craft sale or if you are having home parties it might be a great way to have examples of what you will be doing that night and then they get to take these home to remember what they have learned.
Now here is how I got the info on the back of the tag.
I used my word and on the computer wrote all my instructions out. Using the center and about a number 8 size of font. Now print it out on a blank piece of paper.
Making sure it all fits nicely on your tag area.

Place the tag on top of the instructions that you have just printed off. Adhering it with some tape.. easily removable tape.
you should make sure it is centered where you want the words to go.

Now put it back in the printer, remembering to place it upside down , with the tag end to the back of the printer. It will print on the tag in the same spot it printed on your paper. Then just remove. Now you will have your instructions on the back and your technique on the front.
 I hope this is a fresh and new idea for adding something a little different. I am sure your clients will love getting these, and the more product used might increase sales.
Hope you give this a try.


Making sure it all fits nicely on your tag area.
Place the tag on top of the instructions that you have just printed off. Adhering it with some tape.. easily removable tape.
you should make sure it is centered where you want the words to go.
Now put it back in the printer, remembering to place it upside down , with the tag end to the back of the printer. It will print on the tag in the same spot it printed on your paper. Then just remove. Now you will have your instructions on the back and your technique on the front.
Hope you give this a try.


